

I’ve just migrated this WordPress blog from a multisite hosting package I have with LCN to Amazon’s new Lightsail service – and thought I’d just make a quick post about how the process went.
Why move? There was both pushing and some pulling involved in the decision. As for the pushing – the package I had at LCN was a 10 site hosting package – of which I was only actually currently using 2. I had a few more sites previously (which is why I chose that package) – but recently either shut them down (personal project sites that I decided to kill off), or migrated away (a website I had setup and been managing for a local business – but had now handed over fully to them).
The renewal was coming up in April and I thought it was a good chance to try another approach. Also, the speed, while ‘ok’ for these little blogs, was a bit on the slow side, and although easy to set up from their control panel, I missed having shell access to the machine for those occasional times it would have been useful. (I should say though – that I’ve been with LCN for years and have had a positive experience and still have a bunch of domains with them).
On the pulling side – well Amazons new Lightsail service has just become available and it’s a new toy to play with and I really wanted to give it a try. I’m already sold on the AWS ecosystem – having been running EC2/RDS/Elastic Beanstalk instances for a few years on personal projects, and recently being lucky enough to use a range of their other services while developing on a project in a commercial environment (ECS, Lambdas, DynamoDB, CloudWatch, CloudFormation), and also just started some Alexa development (using AWS Lambdas and DynamoDB).
So I love AWS, but didn’t really want to configure and run an EC2 instance with Apache, MySQL, etc. just for a couple of blogs. I’ve done that before for a period a few years ago, and I just found it just takes more effort than I really want to expend on something that’s not core to what I want I do with my limited free time (I’d far rather use it developing actual application code).
What is AWS Lightsail?
Lightsail is basically Amazon creating a simplified (dumbed-down, whatever) product for people who just want a really easy way to set up a preconfigured virtual server without having to understand and navigate the myriad (powerful) options available in the general AWS ecosystem (and crucially, with predictable costs).
This simplicity is apparent throughout the configuration UI – it’s cleaner and more user friendly (and less daunting) than the full AWS console.
Behind the scenes – the Lightsail offering is a virtual machine utilising SSD-based storage, DNS management, and a static IP address. With a few button clicks you can quickly set up favorite operating system (Amazon Linux AMI or Ubuntu), developer stack (LAMP, LEMP, MEAN, or Node.js), or application (Drupal, Joomla, Redmine, GitLab, and many others), with flat-rate pricing plans that start at $5 per month for what is effectively the equivalent of an EC2 t2.nano instance.
As I mentioned above, I could have just set it all up on an EC2 instance – but I really just wanted simplicity for this blog. With Lightsail it’s just a few button clicks to configure and there is no need to worry about Bandwidth (at least at my usage levels), Security Groups, Volume Sizing, etc.
Migrating My Blog
Firstly – my conclusion is that I’m really happy with the result – process was simple, the control panel is a breeze and I’ve seen a significant speed improvement on my old hosted solution – plus it’s costing me less (only because I was only using 20% old my old solutions capacity though, to be fair).
Now – onto a quick recap of what I needed to do to migrate my WordPress blog to Lightsail (hardly rocket science – all straightforward and painless, but thought it might be useful to document it nonetheless)..
Step 1 – Create a New Lightsail Instance
This comes after ‘Step 0 – set up an AWS account’ – but I won’t go into that here.
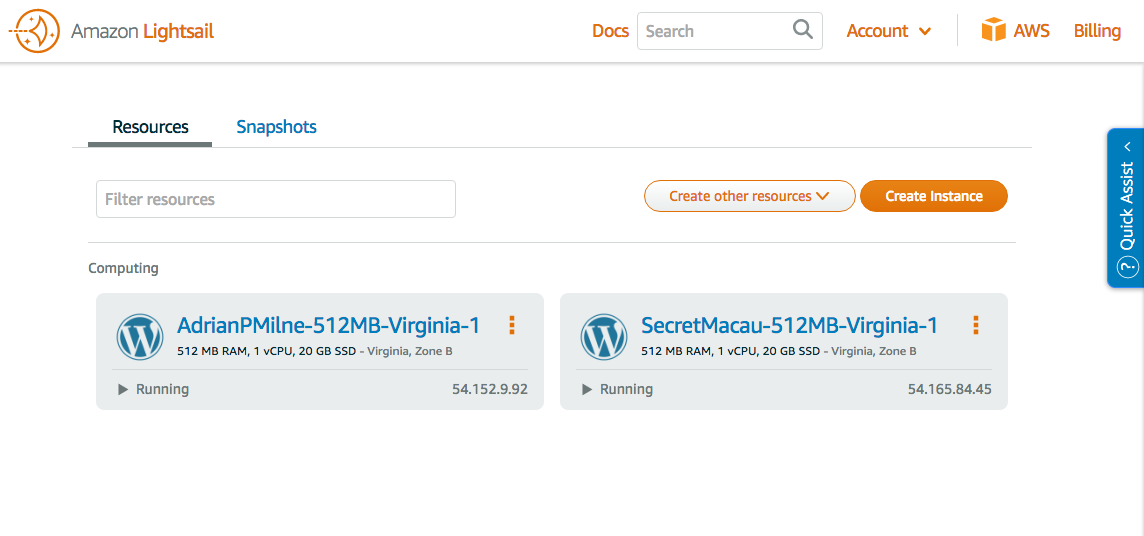
Firstly – log into AWS Lightsail at https://lightsail.aws.amazon.com – you will see the welcome screen showing all the instances you currently have available (in this case – there is one website I’ve already migrated).
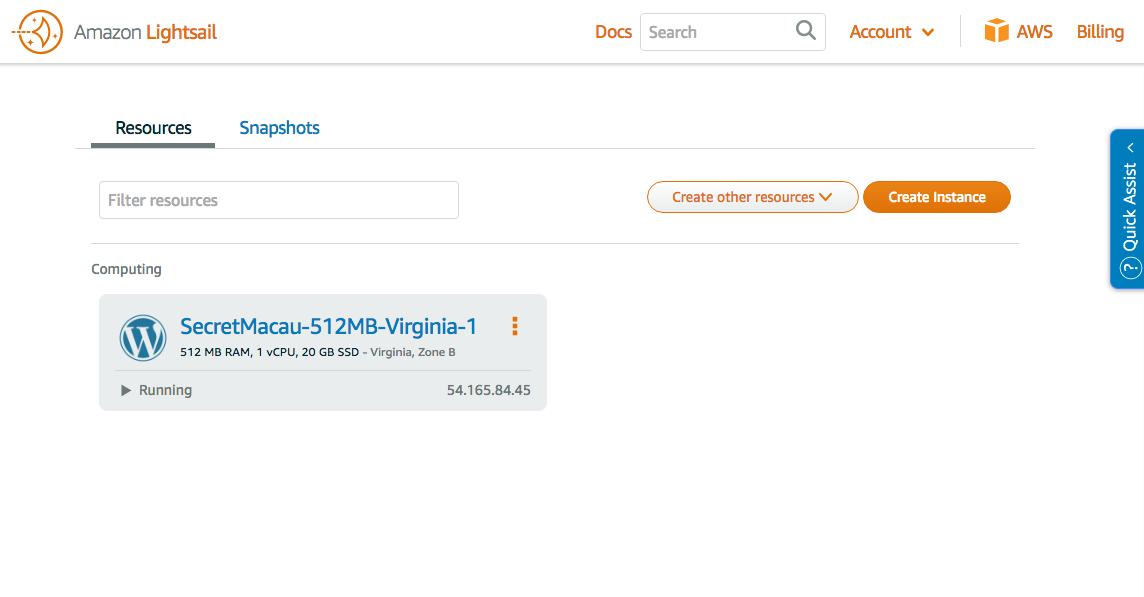
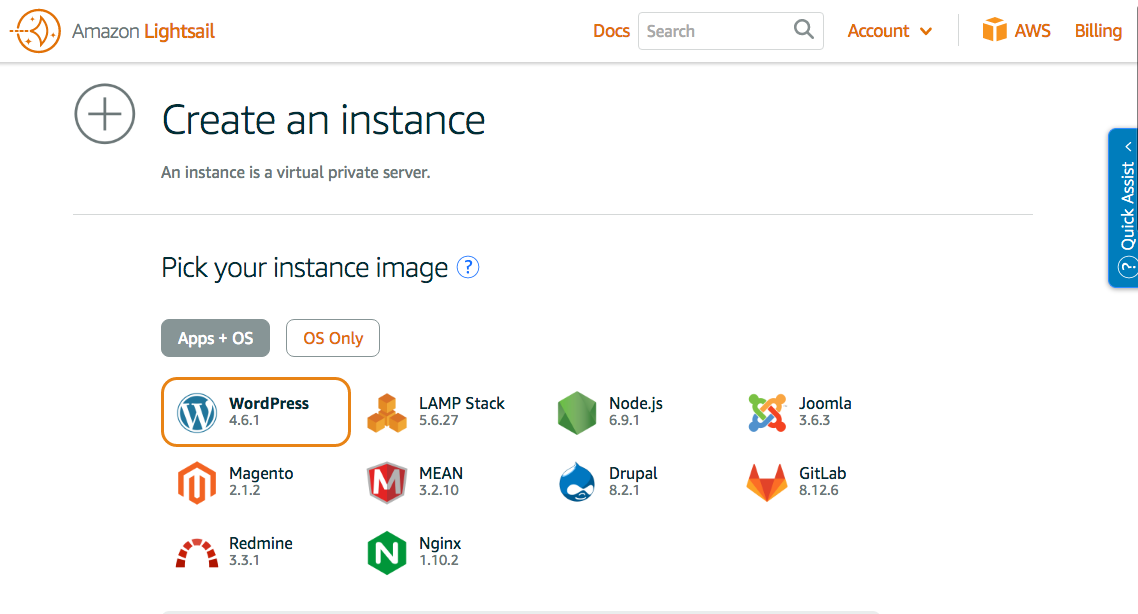
Click on the ‘Create Instance’ button to create a new instance. There are a number of preconfigured virtual machines available – applications, development stacks and operating systems. I just want a WordPress application set up.
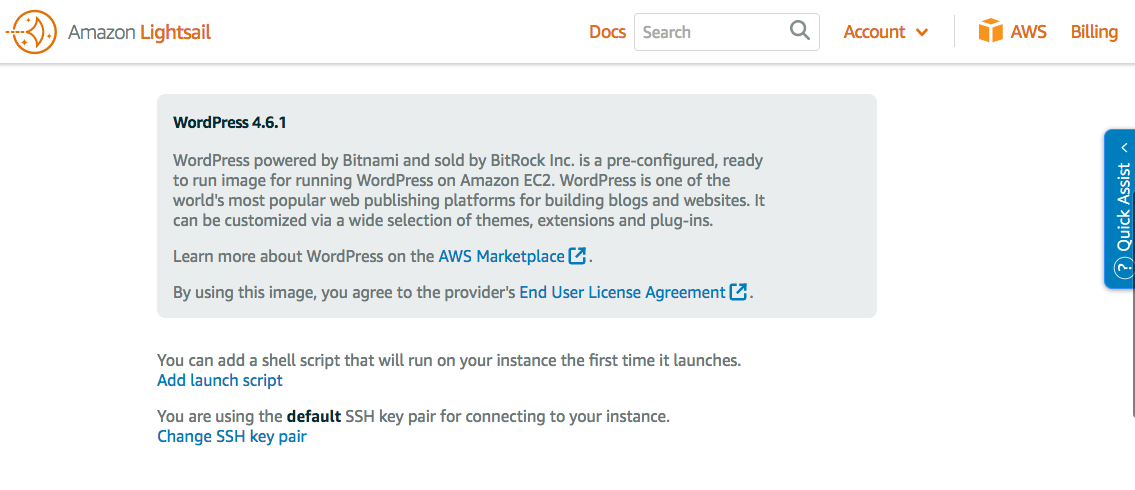
Scrolling down the Create Instance page – you have options to add launch scripts and your own SSH keys if you want to (I didn’t need to do this so just accepted the defaults).
The next step is to choose your instance plan. The cheapest $5 plan is fine for my needs (and comes with a one month free trial at the point I’m writing this). I believe this is the equivalent of a t2.nano instance on EC2.
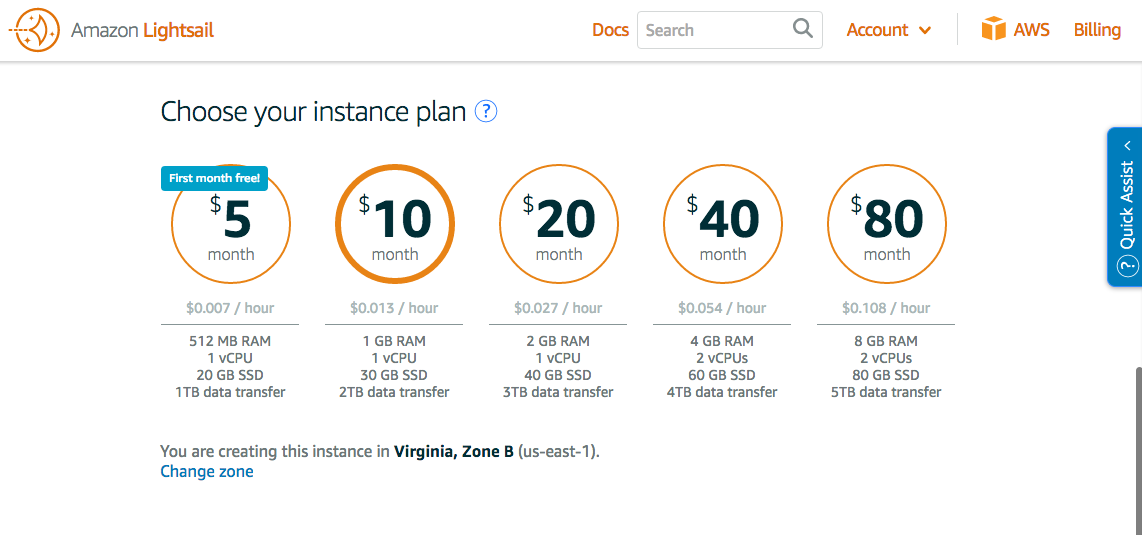
You have the option to change the Zone the instance runs in. Currently the only ones available are all east coast US – so I just stuck with the default option of Virginia, Zone B.
Finally you just need to name your instance. This is just the name that appears to you in your control panel – so I just modified the default one that was suggested.
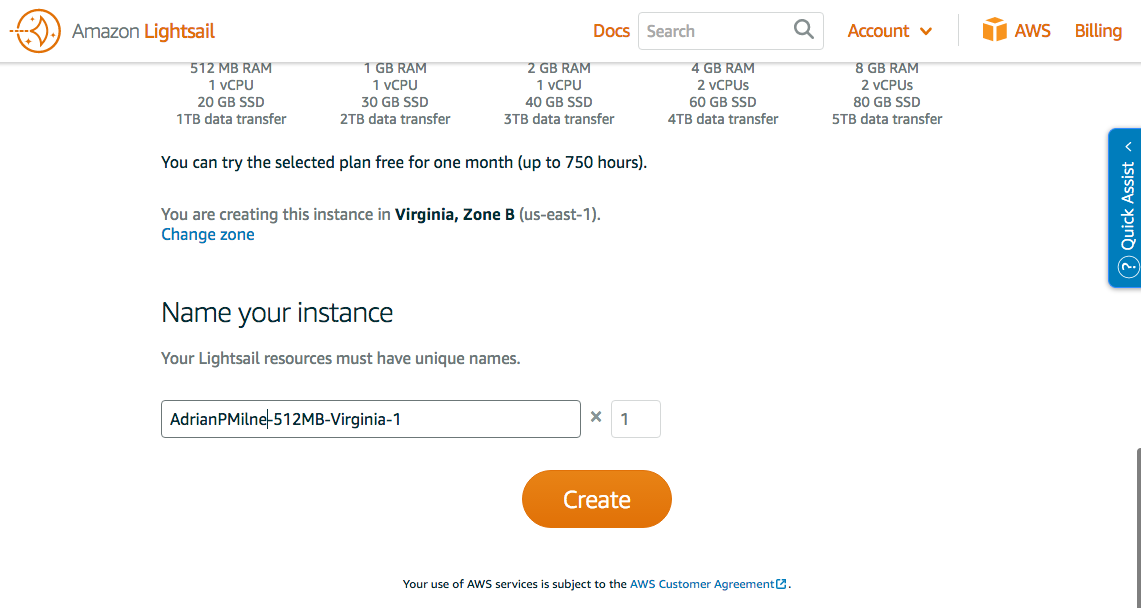
And that’s it – your instance is created and it now appears on your dashboard.
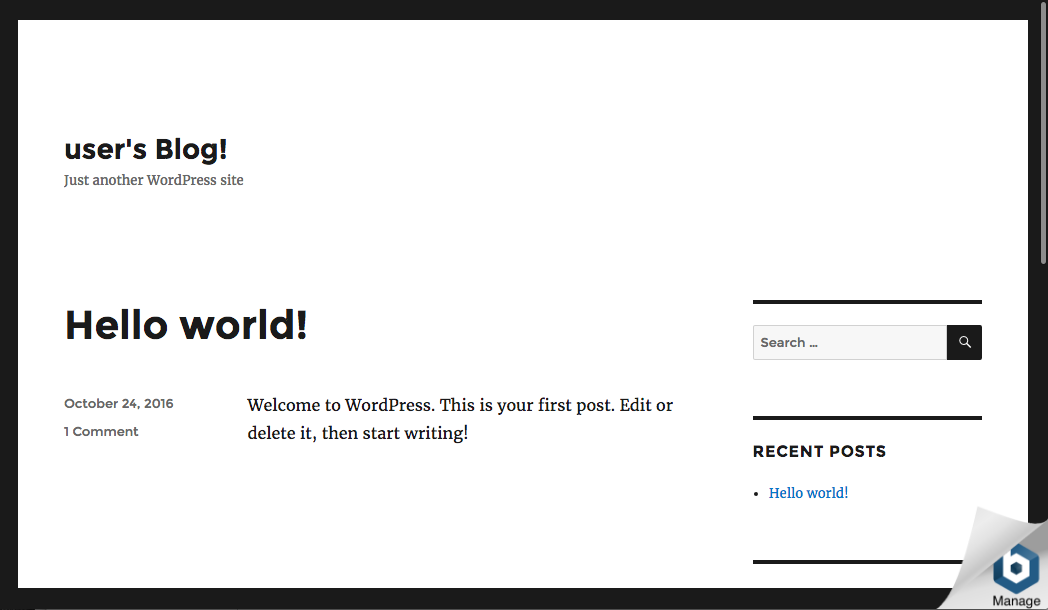
You can navigate to your new basic WordPress instance using the public IP address that has been assigned to you.
Step 2 – Connect to Your Instance
SSH via Browser
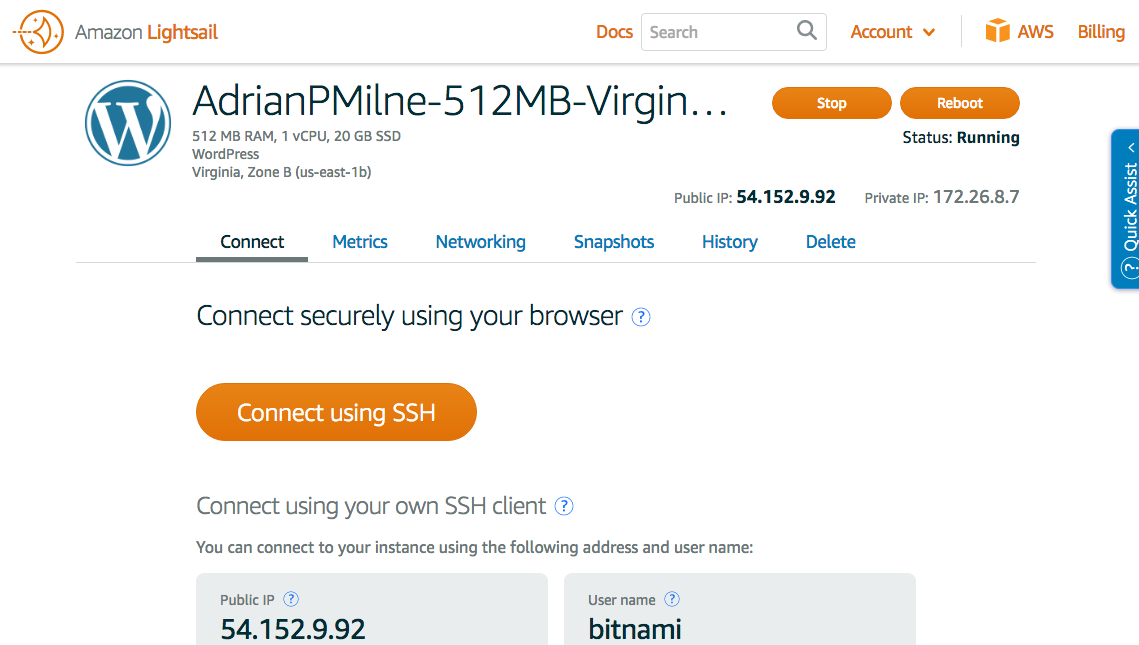
Now, to do anything useful – you need to be able to connect to your virtual server using SSH. The simplest way to do this is just to click the ‘Connect using SSH’ from your instance page in AWS
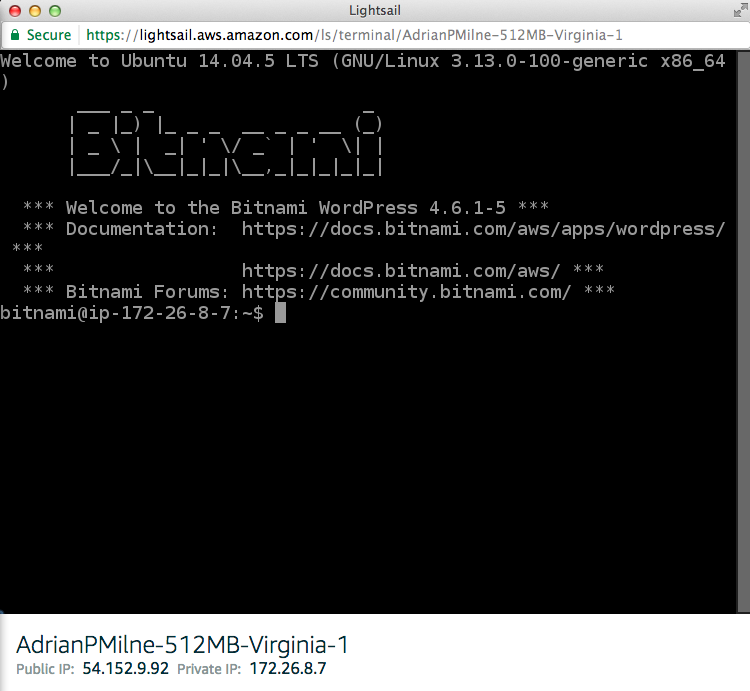
This will pop up a new browser window simulating a terminal connection to the instance. It can take a minute or two after creating your instance for everything to be set up and available behind the scenes. So if you click the ‘Connect using SSH’ button too early – you can get the following error message.
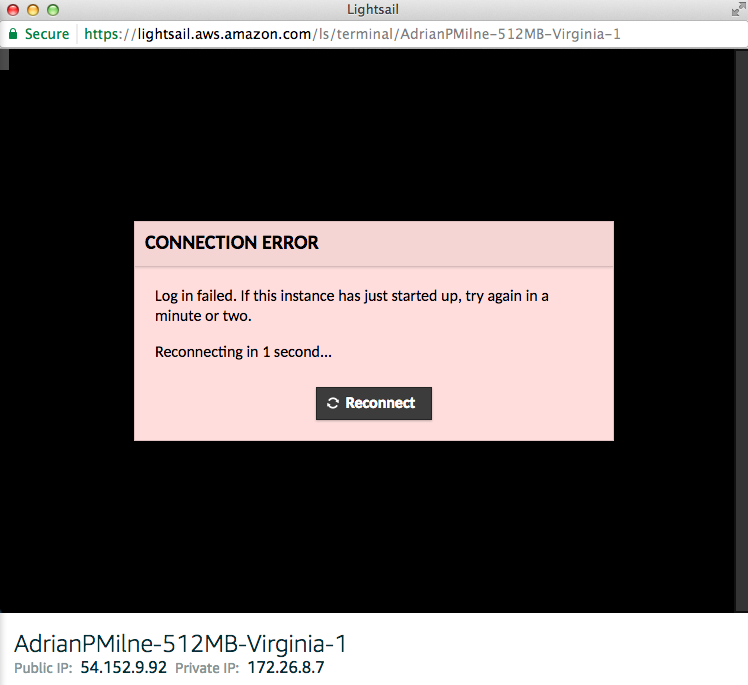
If you wait a minute or two and try again – the SSH connection should be available.
SSH via Terminal
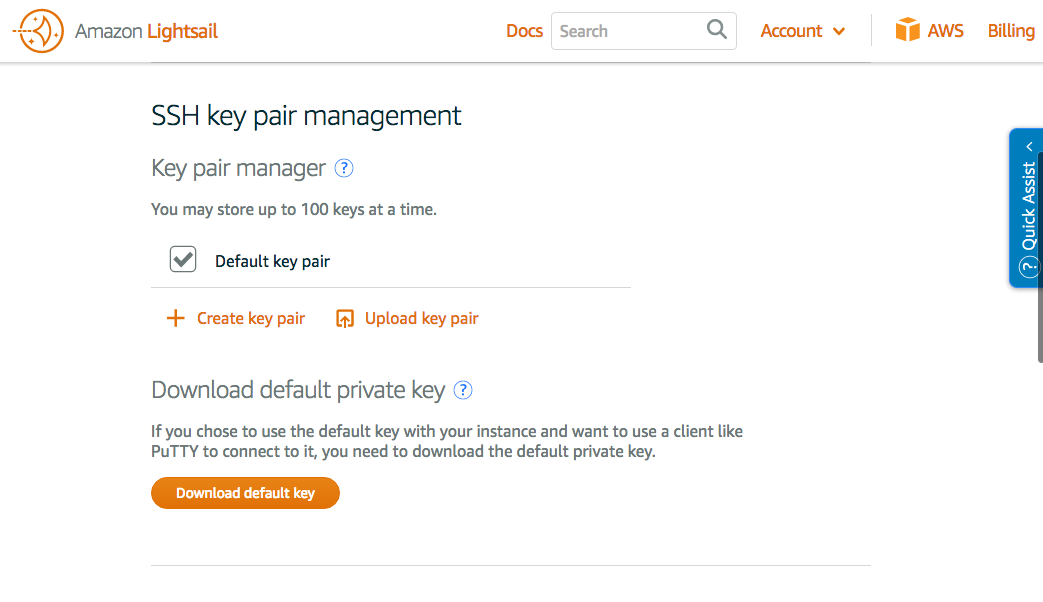
You can also connect via SSH from a terminal. First you need to get your private key. You can download this from the Lightsail page for your instance. Click the ‘Download default key’ button.
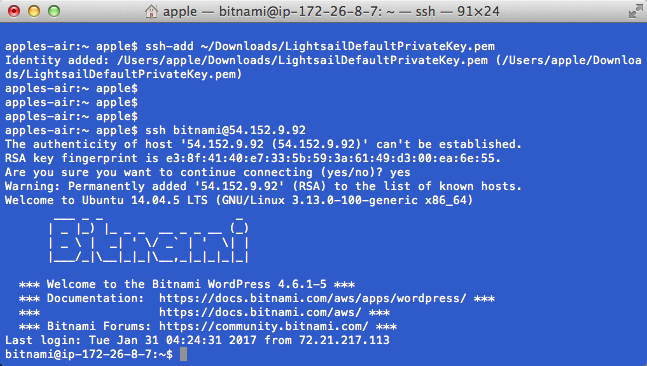
Once downloaded – you can then add the ssh key using:
ssh-add ~/.../LightsailDefaultPrivateKey.pem
And then connect using ssh:
ssh bitnami@<IPAddress>
Login to WordPress
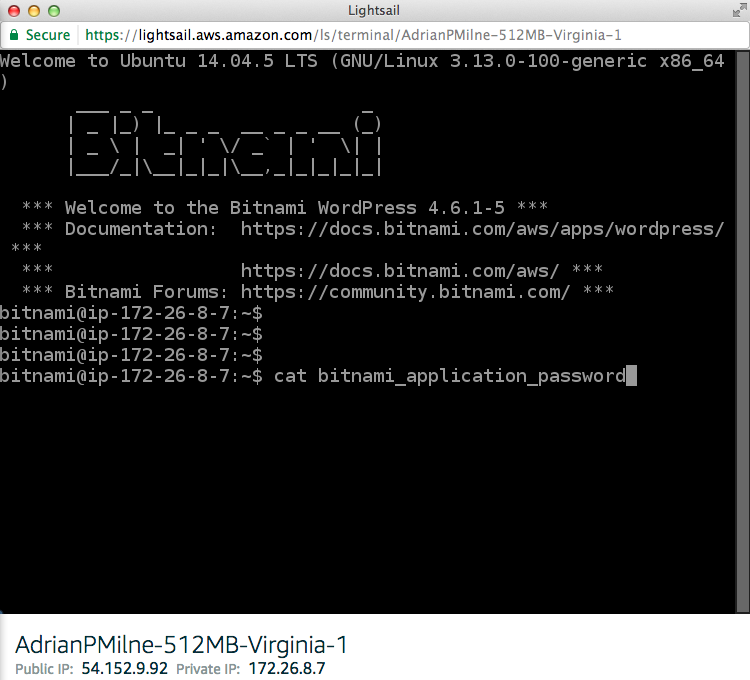
You need to be able to connect to your instance via SSH to get the password for the WordPress user account.
Just connect via SSH and enter the command below to see your password:
cat bitnami_application_password
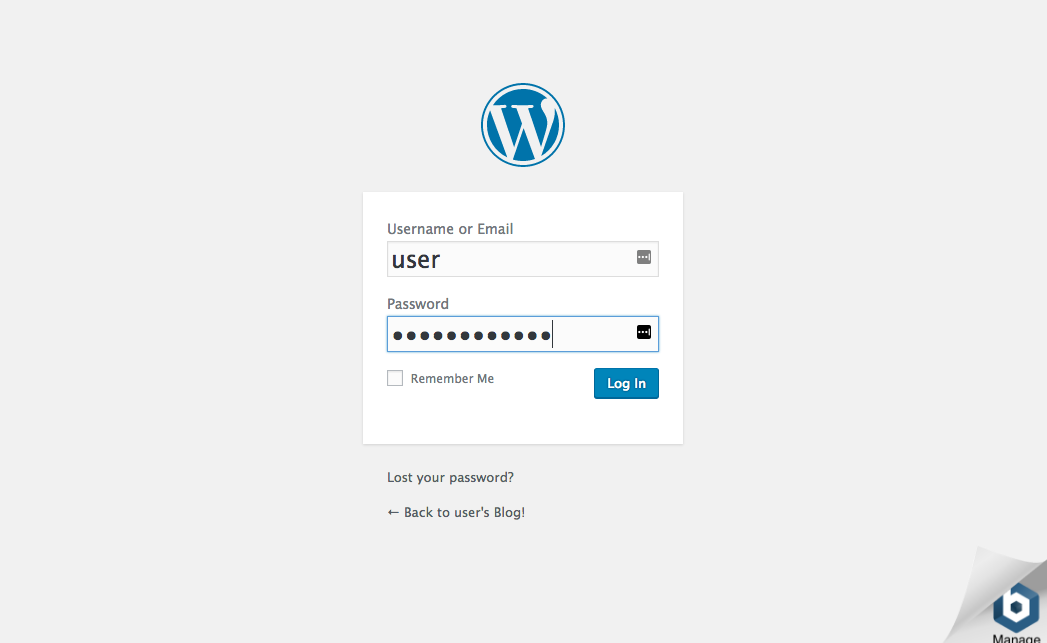
Once you have the password – you can then login to your WordPress site with username ‘user’ and the password you discovered above (using the standard login link on your WordPress site).
Migrating My Blog
I won’t go into any detail on how I did the actual WordPress migration – there are a bunch of plugins available to help with this (migration and backup/restore).
I personally had been using the UpdraftPlus to take regular backups of my site and database – which it pushes directly to my DropBox account.
It was a simple matter to install the plugin on the new site, and then do a restore operation from my most recent backup files. Once I had done this (a matter of minutes) – the site was now available (still on the Public IP address only).

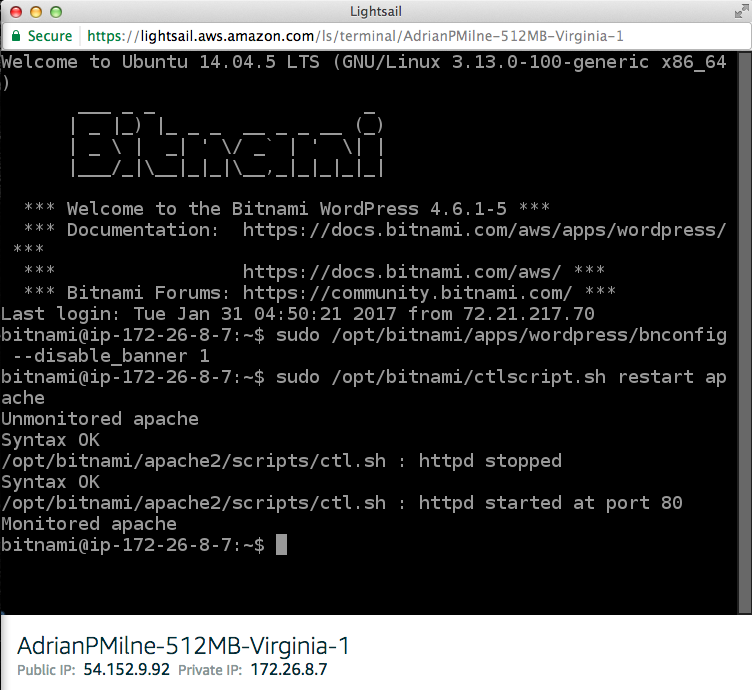
You’ll notice that by default – there is a small Bitnami logo in the bottom right hand corner. In order to remove that – it was just a question of running the following 2 commands from SSH again:
sudo /opt/bitnami/apps/wordpress/bnconfig --disable_banner 1

sudo /opt/bitnami/ctlscript.sh restart apache
Update DNS
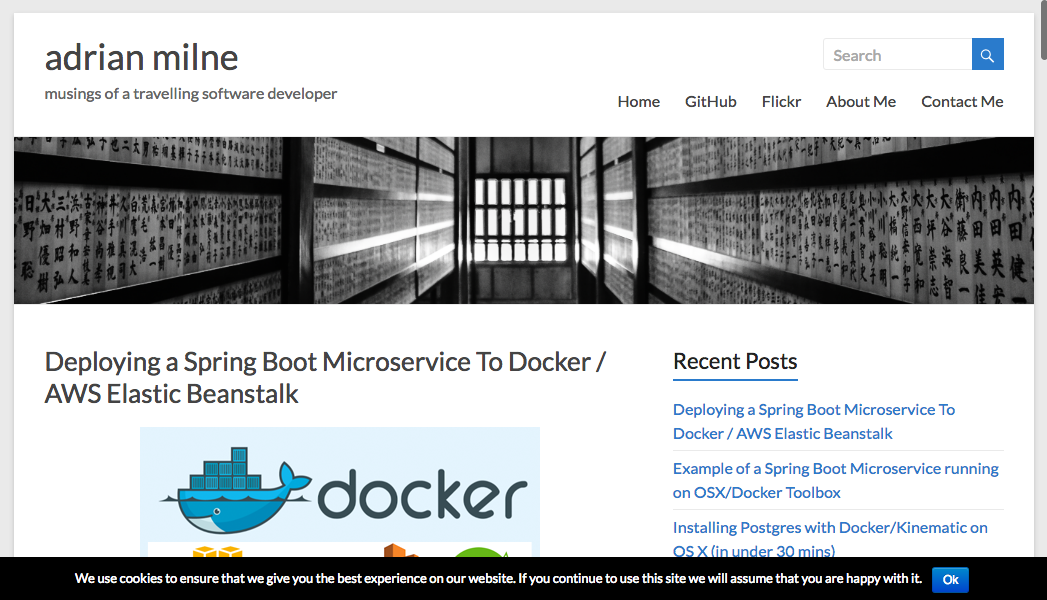
The final step was just to update my DNS settings for adrianmilne.com to point to the new Lightsail Public IP address, wait a few minutes – and voila – myblog was (is) now running on AWS Lightsail.
Conclusions
As I covered above – I’m very happy with the migration. It’s nice to get my blog onto AWS, where I do much of my personal project work. It also works out cheaper than my previous multi-site hosting solution (only because I wasn’t using it to it’s full potential – I like and have had very good experiences with LCN).
It’s also significantly quicker. It feels snappier to use, and a basic back-of-the-fag-packet/Chrome developer tools test shows it has halved the time for a page load (or more).