
This article looks at integrating AWS and GitHub. It runs through an example of setting up an automated Git Pull using a Webhook to automatically sync Github repository code into an S3 bucket (from where it can then be picked up by CodePipeline).
Background
In AWS, you can specify the source provider of the code when you create a CodePipeline. This can be one of ‘Amazon S3‘, ‘AWS Code Commit‘ or ‘GitHub‘.
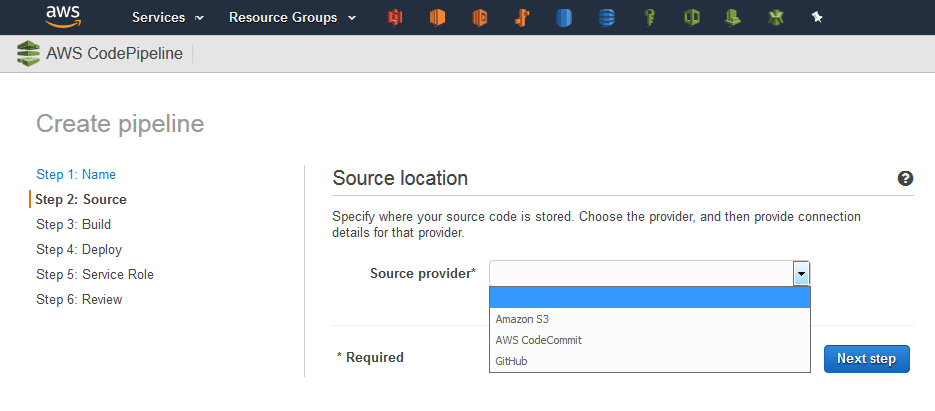
This article covers what you need to do to be able to select ‘Amazon S3‘ as your source (but keep your working repository in GitHub). Why not just select ‘GitHub’ from the drop-down list here? Well – if you choose this option you are presented with a screen where you give AWS authorisation to access all your public and private repositories (and across all organisations you may have joined). That made me a little uneasy – and it wasn’t clear on the detail of what would exactly be configured. I plan to have a look at that in more detail later (possibly with a dummy account).
Rather than setting the connection by GitHub account, choosing the S3 route lets you only grant access to a specific repository. Plus by selecting S3, when you build your CodePipeline – it will be decoupled from your repository (should you ever decide to change where that is hosted).
So not entirely sure if this is the best approach yet – but it’s the first one I wanted to try out. There is one particular issue I still need to get to the bottom of (how it works with branches – only code from the main branch is synced to S3 currently – triggered from commits from any branch). (Update: See Addendum at bottom for page for an update on these thoughts/investigations).
AWS Devops Blog Post
This article outlines the steps I took to set this up the Amazon S3 option. I based this on the excellent article on the AWS Devops blog post – Integrating Git with AWS Code Pipeline. It explains in more detail the various components of the architecture that are created in AWS to support this integration (this diagram is taken from the linked blog post):
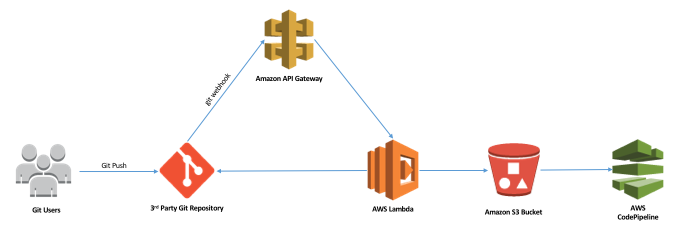
I chose the ‘Git Pull’ method outlined – it just seemed a cleaner (and simpler) approach. For the purposes of my test I used the us-east-1 region, and so could use the handy template provided by AWS.
AWS Configuration
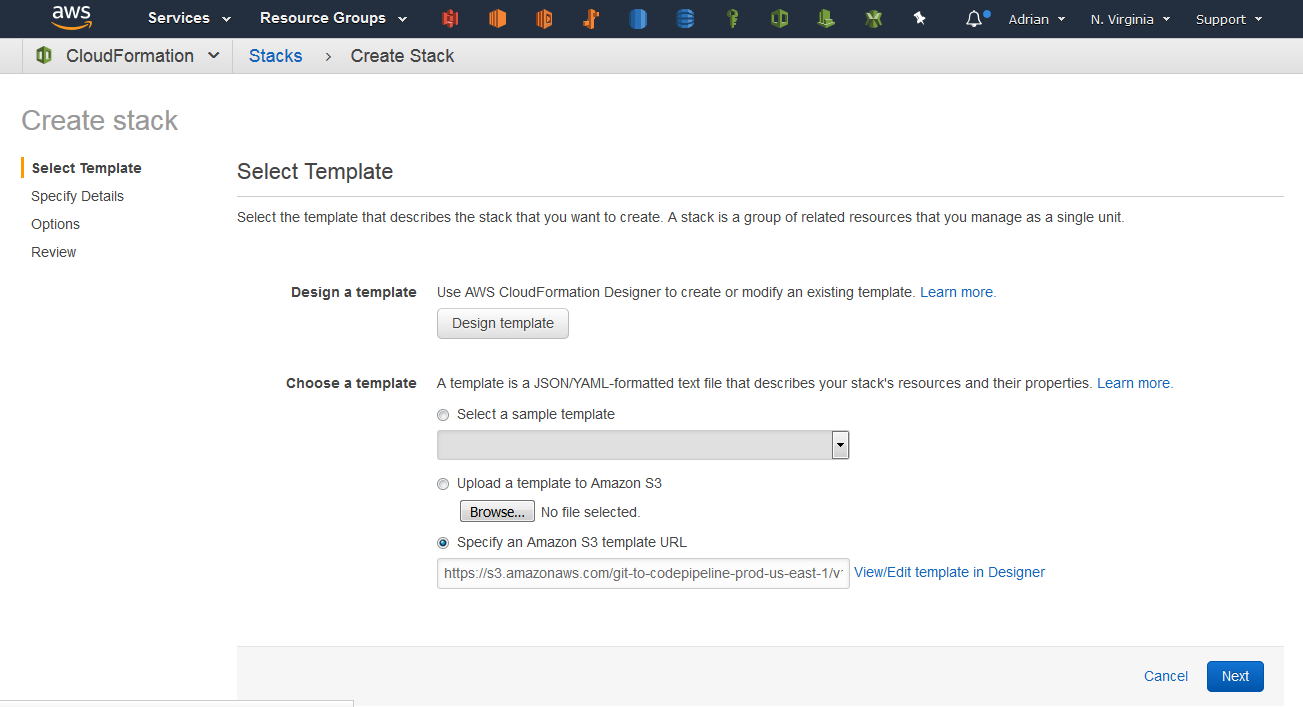
I started by clicking the us-east-1 CloudFormation template (as linked in the blog post):
This opens the following page (you can see the Amazon S3 template URL field is pre-populated – so you can just click ‘Next’ here)
Create the CloudFormation Stack
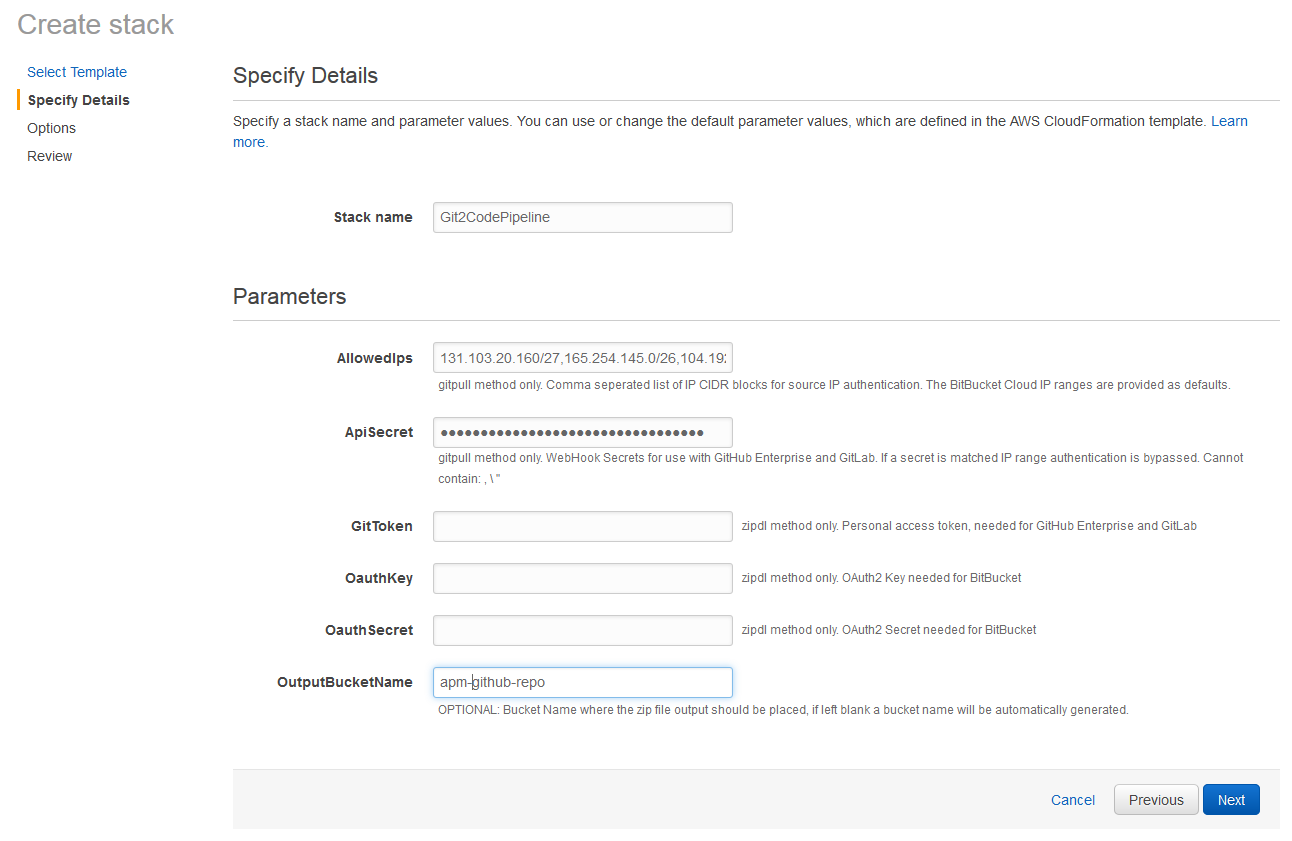
On the next page you can specify the inputs to the CloudFormation template. Stack name, OutputBucketName and ApiSecret can be any valid values you like (of course, make a note of your ApiSecret). The allowed IPs should be set to 192.30.252.0/22,185.199.108.0/22 (as specified on the GitHub help page https://help.github.com/articles/github-s-ip-addresses/)
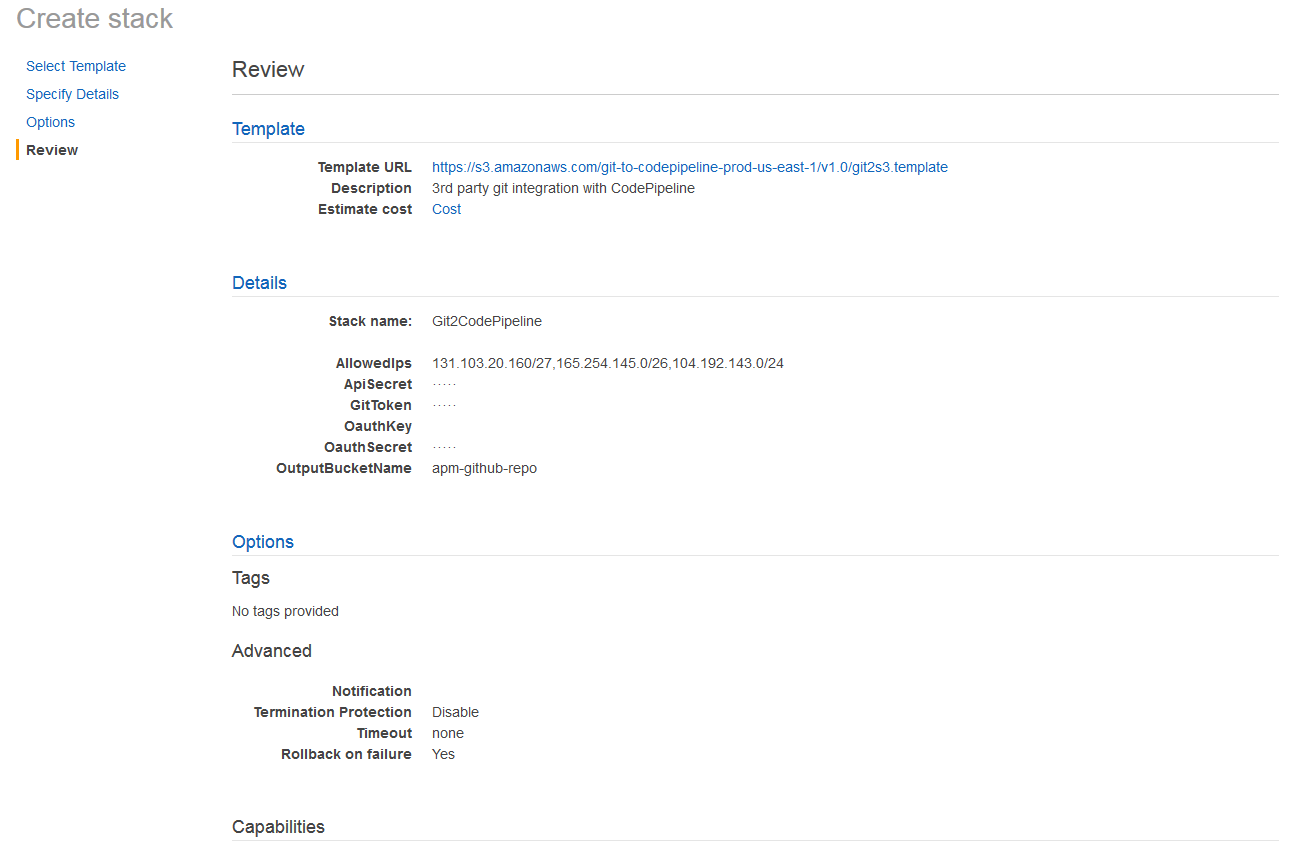
The next step is to review everything looks ok, and click ‘Create’
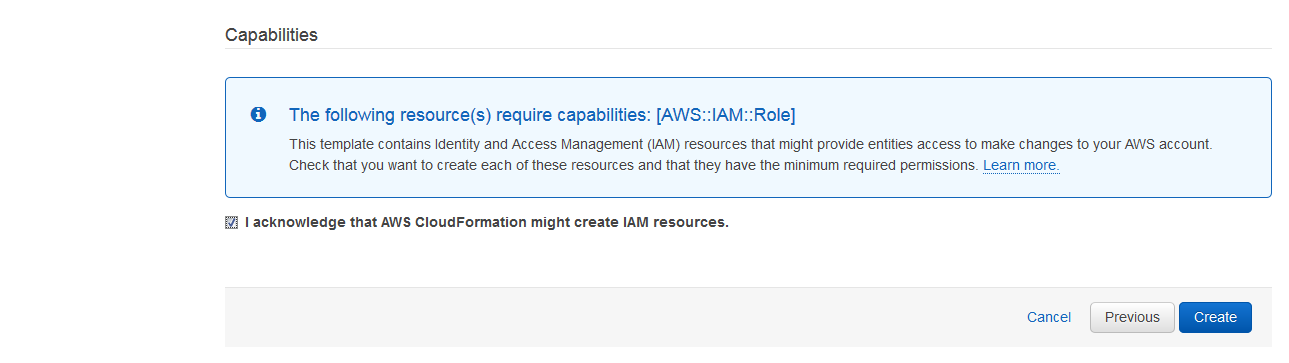
That will create your CloudFormation stack, containing the various components of the architecture needed for the integration (including API Gateway, S3 Bucket and Lambdas).
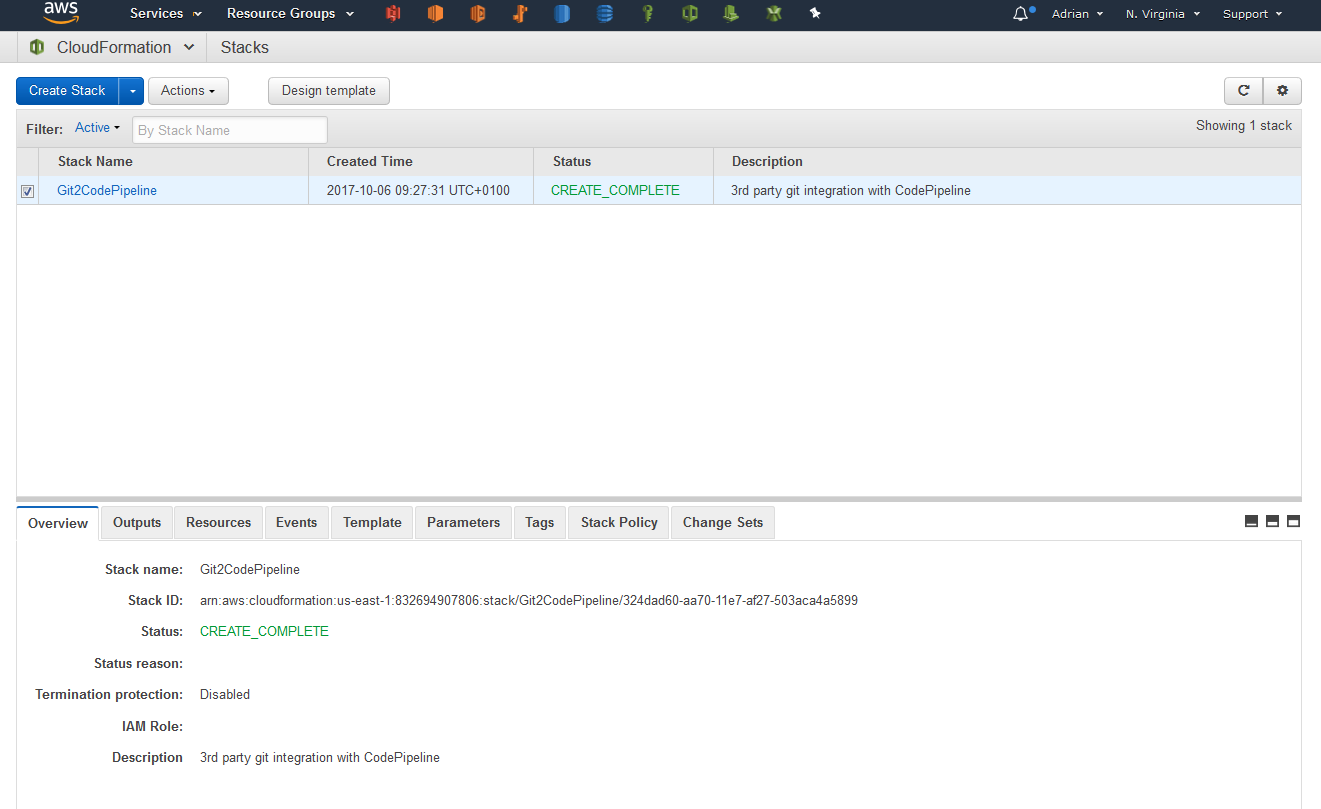
The outputs of the CloudFormation stack include values for ‘GitPullWebhookApi‘ and ‘PublicSSHKey‘ – you will need these when setting up the Webhook in GitHub.

GitHub Configuration
Once the AWS side is set up – you can configure GitHub. I just chose a random repository to test with.
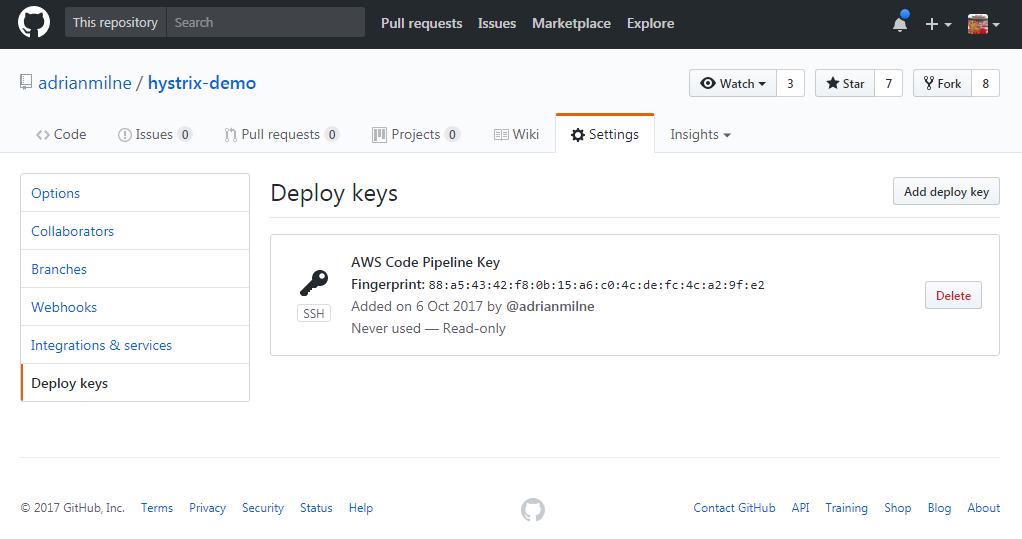
Create Deploy Key
Under Settings .. Deploy keys – add a new deployment key (use the ‘PublicSSHKey‘ from the CloudFormation stack outputs above)
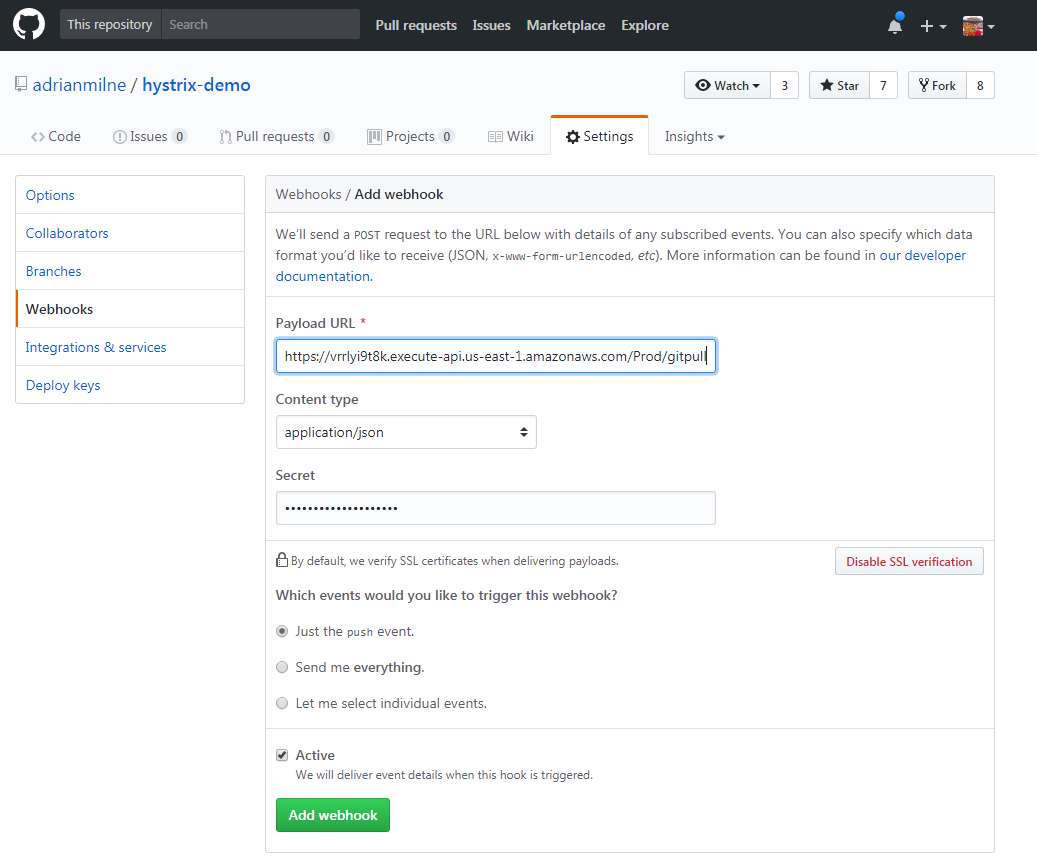
Create Webhook
Finally, configure the Webhook. Under Settings .. Webhooks – add a new Webhook. Paste in the ‘GitPullWebhookApi‘ from the CloudFormation stack outputs above. Add the Secret (this is the ApiKey you entered when setting up the CloudFormation template). You also need to set the Content type to ‘application/json’.
Having done that – any commits to your Github repo will now cause the repo to be zipped up, and the zip file pulled into your S3 bucket (from where it can be picked up by CodePipeline).
CloudFormation Template
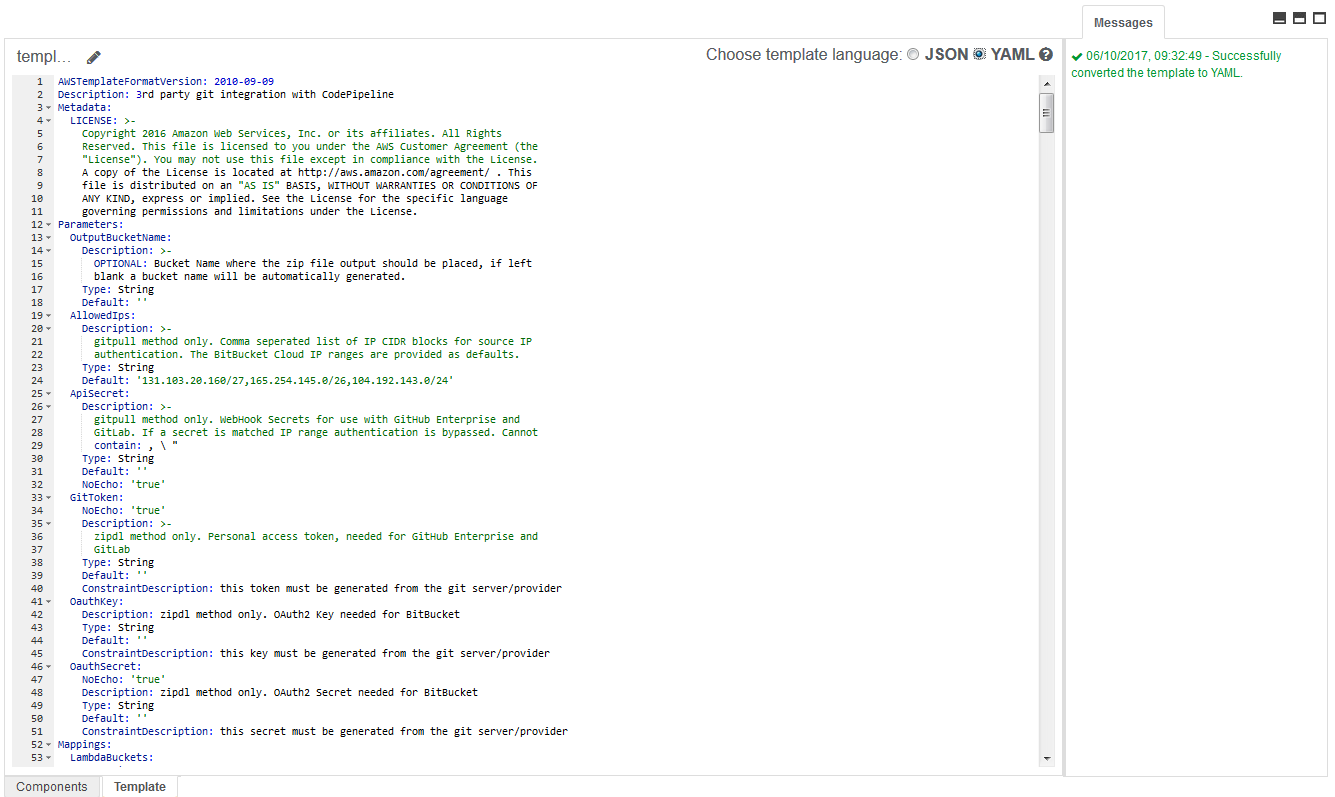
Of course, once that’s done you can access and tweak the CloudFormation template in the AWS console. For example, I wanted to export a yaml copy of it which I could then keep and work on further. That is pretty straightforward using the CloudFormation template editor in the AWS console.
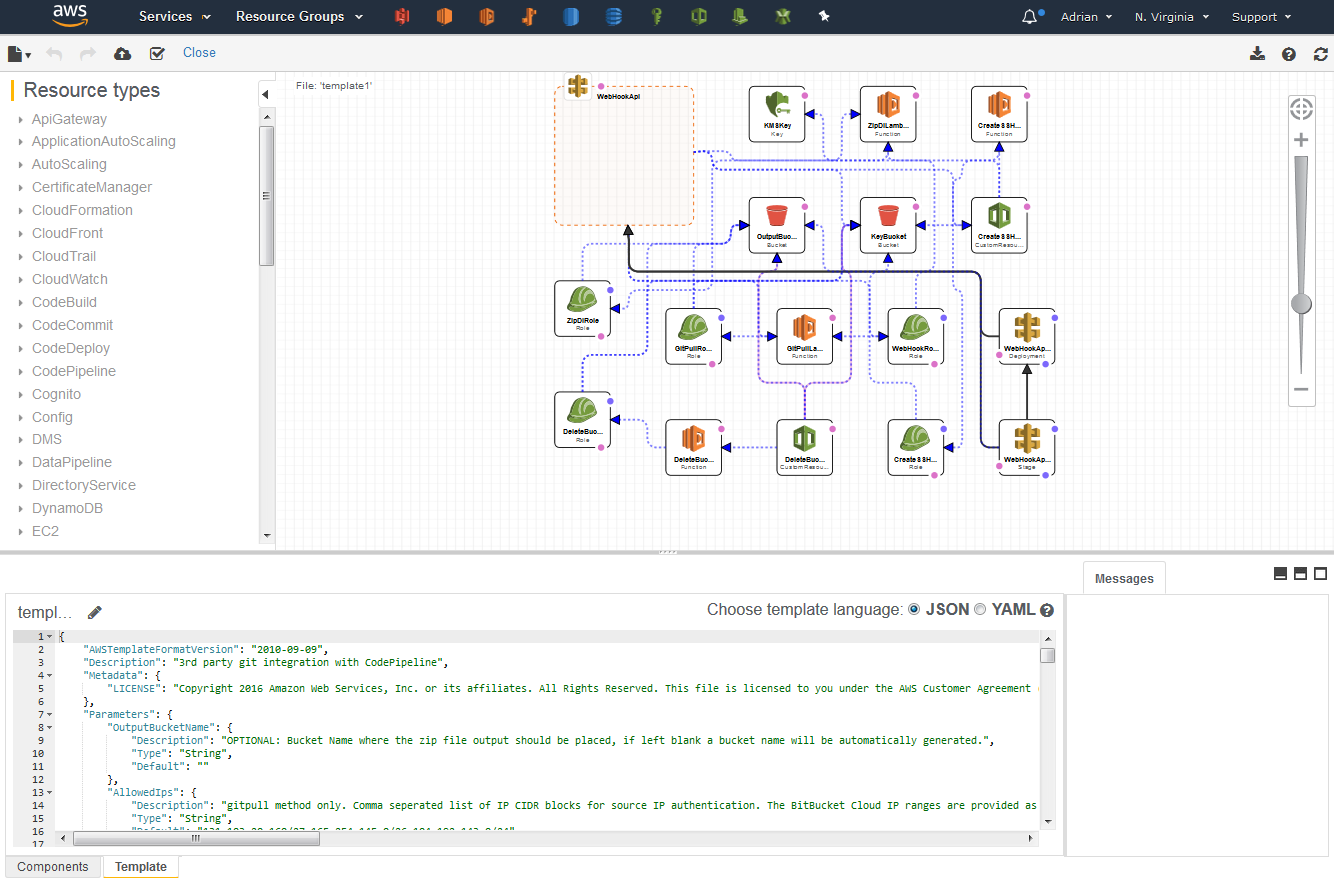
You can convert the default json to yaml and export it to your machine.
Conclusions on Integrating AWS and GitHub
Thanks again to the excellent article on the AWS blog, the whole process was pretty straightforward. I need to look further at the pros and cons of this approach over using the direct ‘GitHub’ as source option when creating a CodePipeline, but it’s nice to have all this as a CloudFormation template, and also have that decoupling between CodePipeline and the repository.
The issue I’m currently looking at is how this works with different branches. Currently with my setup – a commit on any branch will cause a git pull to S3 on master only. In the real world we need to build and deploy on multiple branches – I’m still not sure how this process handles that. (See Addendum below for an update).
Addendum
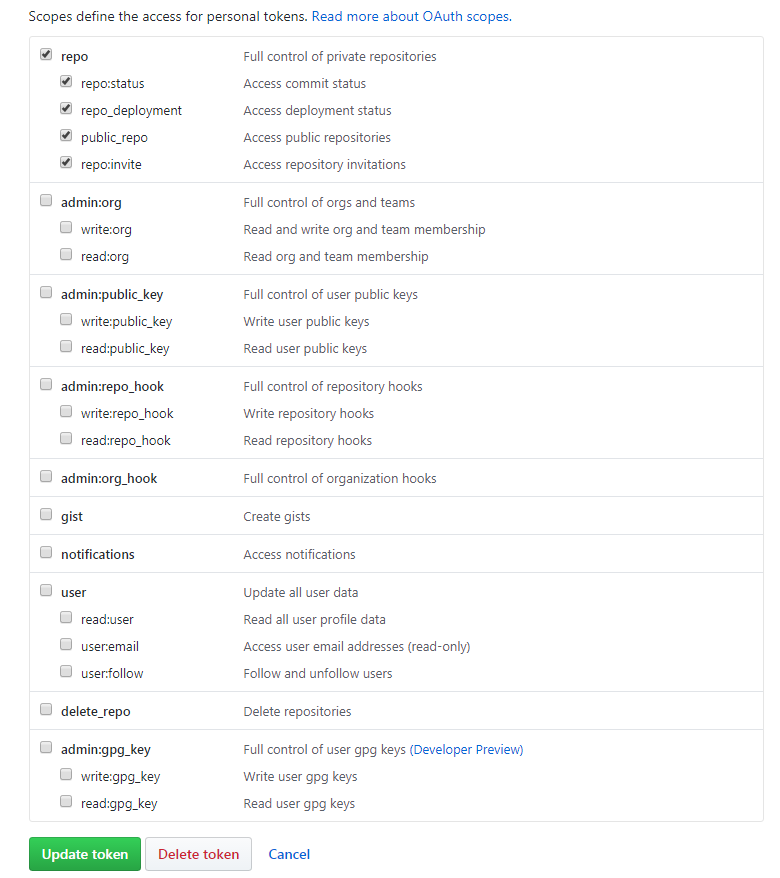
After I wrote the article – I did more investigation on the direct integration with Github. This essentially involves creating a GitHub OAuth personal access token to grant access to the CodePipeline. The access privilieges for this token can be configured (see the screen shot below). This is user specific though of course, so you would probably want to create an AWS Pipeline user for your organisation in Github.
In addition – I confirmed that using the CloudFormation stack in the template mentioned above will only ever pull from the master branch. The python source code for the Git Pull lambda is available though, so could be refactored if required:
https://s3.amazonaws.com/git-to-codepipeline-prod-us-east-1/v1.0/GitPullS3.zip