
This article is a follow on from my previous one – “Example of a Spring Boot Microservice running on OSX/Docker Toolbox” which described how to create a Spring Boot application and deploy it to Docker Toolbox locally.
This article describes how to take that Docker image and deploy it onto Amazon Web Services Elastic Beanstalk.
Full source code is available on Github here: https://github.com/adrianmilne/spring-boot-docker-jaxrs-demo

Once you have a working Docker image of your application – there are 2 basic approaches to getting it up and running on Elastic Beanstalk. The first option is to create an archive and upload it directly, the second is to upload it to a docker repository (e.g. Docker Hub), and reference the image directly from there.
In this article – I’ll just run through the first option – creating an archive and uploading directly.
Step 1 – Create the Archive
As it’s a single file upload to Amazon – you will need to create a zip file containing the Spring Boot JAR and the associated Dockerfile. As I’m using Maven, I just added the Maven Assembly plugin to the pom.xml (and assembly.xml descriptor to the project) to handle this through the maven packaging process.
Example of assembly.xml – include our project JAR and dockerFile
<assembly xmlns="http://maven.apache.org/plugins/maven-assembly-plugin/assembly/1.1.3" xmlns:xsi="http://www.w3.org/2001/XMLSchema-instance" xsi:schemaLocation="http://maven.apache.org/plugins/maven-assembly-plugin/assembly/1.1.3 http://maven.apache.org/xsd/assembly-1.1.3.xsd">
    <id>zip</id>
    <formats>
        <format>zip</format>
    </formats>
    <includeBaseDirectory>false</includeBaseDirectory>
    <fileSets>
        <fileSet>
            <directory>${project.build.directory}</directory>
            <includes>
                <include>${project.artifactId}.jar</include>
            </includes>
            <outputDirectory>.</outputDirectory>
        </fileSet>
        <fileSet>
            <directory>src/main/docker</directory>
            <includes>
                <include>Dockerfile</include>
            </includes>
            <outputDirectory>.</outputDirectory>
        </fileSet>
    </fileSets>
</assembly>
Example of Maven Assembly Plugin – create a ZIP file
<plugin>
                <artifactId>maven-assembly-plugin</artifactId>
                <version>2.6</version>
                <executions>
                    <execution>
                        <id>make-zip</id>
                        <phase>package</phase>
                        <goals>
                            <goal>
                                single
                            </goal>
                        </goals>
                    </execution>
                </executions>
                <configuration>
                    <appendAssemblyId>false</appendAssemblyId>
                    <descriptors>
                        <descriptor>src/main/docker/assembly.xml</descriptor>
                    </descriptors>
                </configuration>
            </plugin>
With the assembly plugin set up – now when you run mvn package it will create a ZIP file in the target directory, which contains the Spring Boot application jar and the associated Dockerfile.
mvn clean package
Step 2 – Upload to Elastic Beanstalk
Once you have an Amazon AWS account setup – open the AWS console and got to the Elastic Beanstalk dashboard.
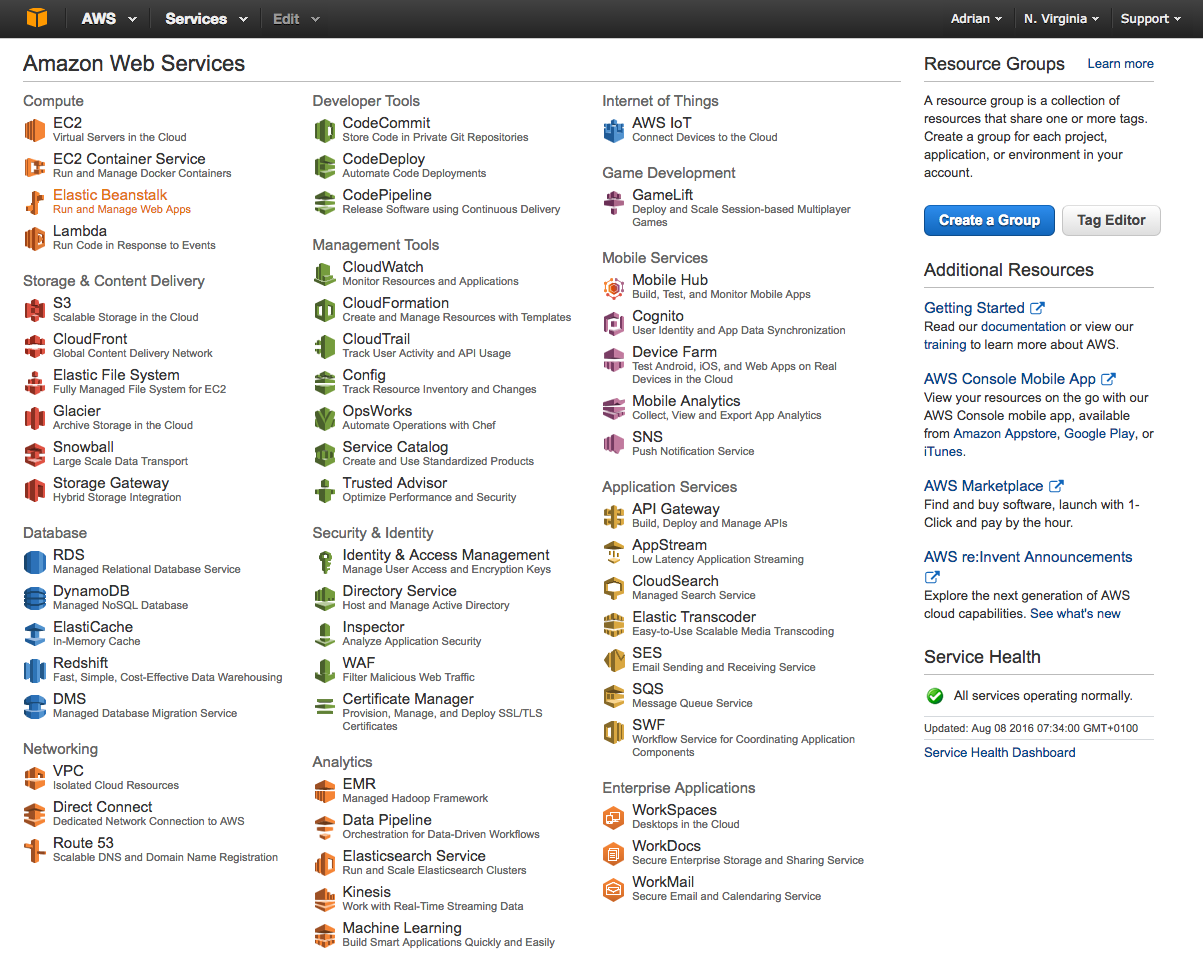
Create a new Application
Click on the ‘Create New Application’ link

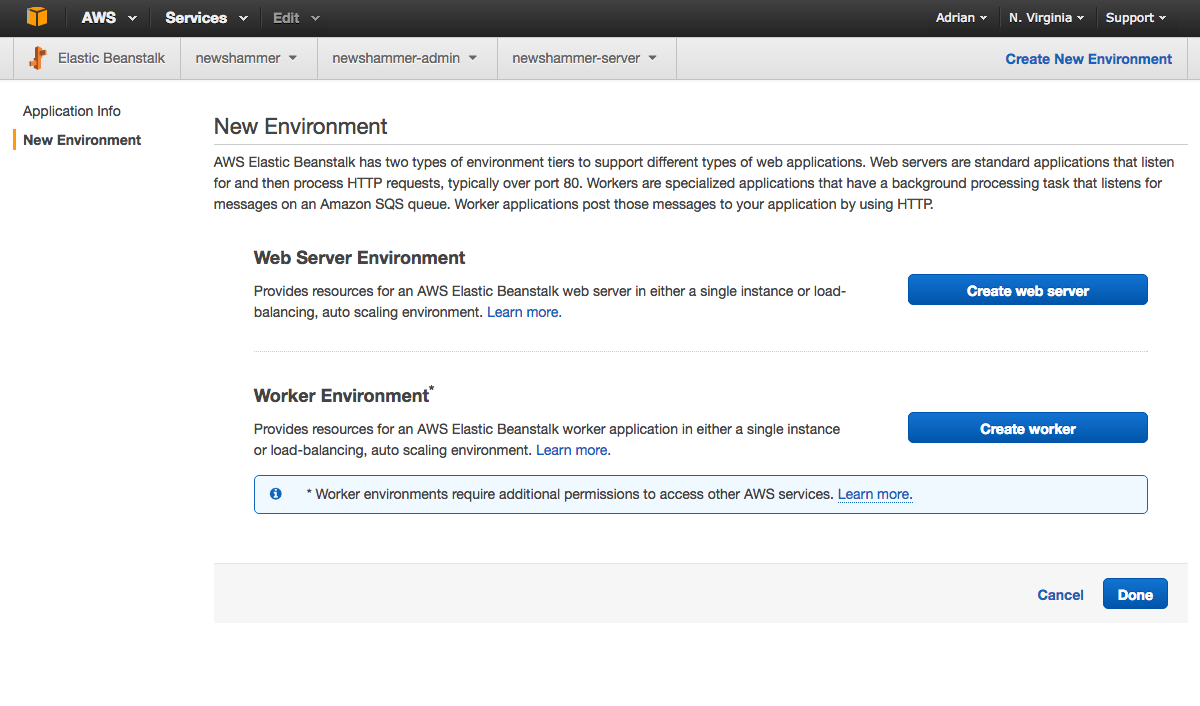
Create a new environment
On the next page click on the ‘Create web server’ button option
Select a ‘Docker’ environment type
On the next page – select ‘Docker’ from the ‘Predefined configuration’ options:
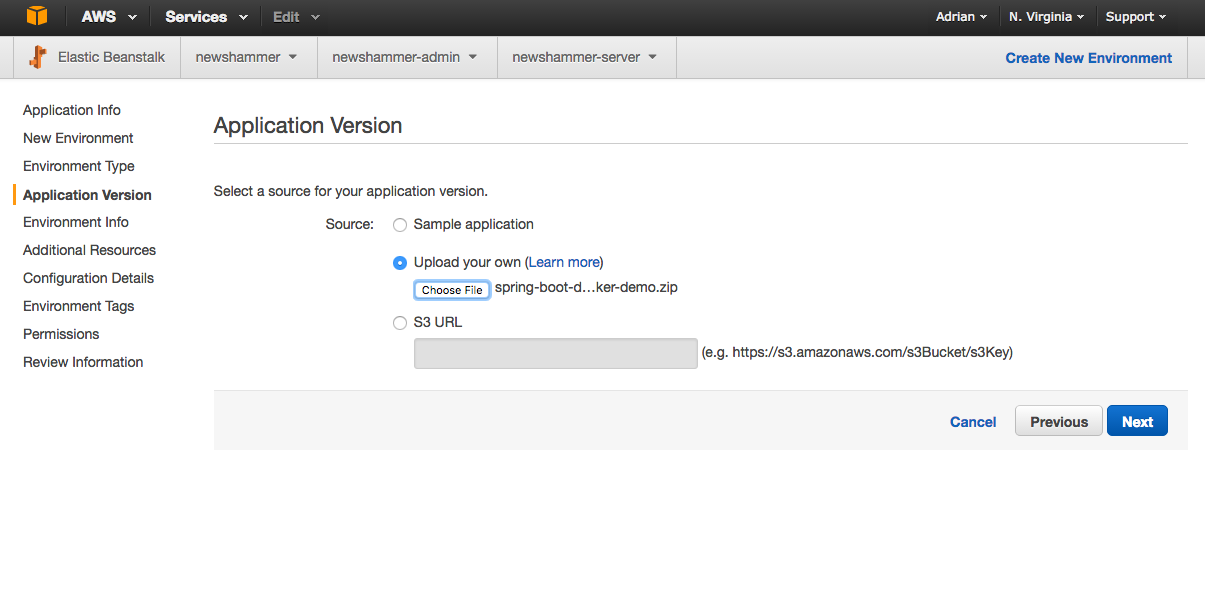
 Upload your new ZIP file

Upload the zip file that was created from the Maven build
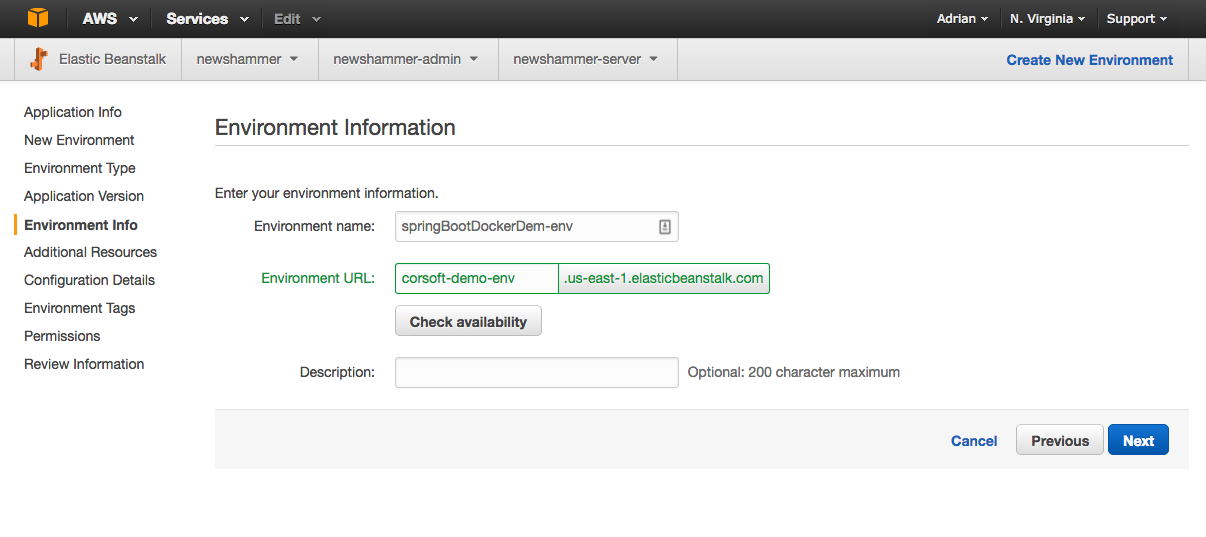
 Select a URL
You can accept the default one amazon provides – or overwrite it with your own. If you want to use your own domain name you can use Amazons Elastic IP to associate a static IP with the Elastic Beanstalk environment and point your domain at that IP.
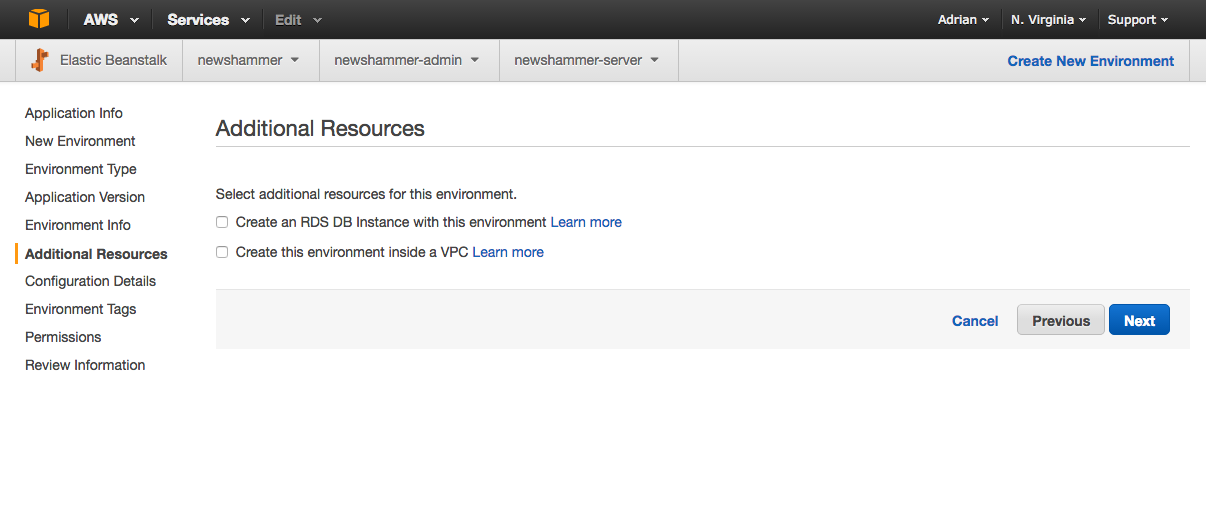
No Additional Resources
No need to set up any additional resources for this demo
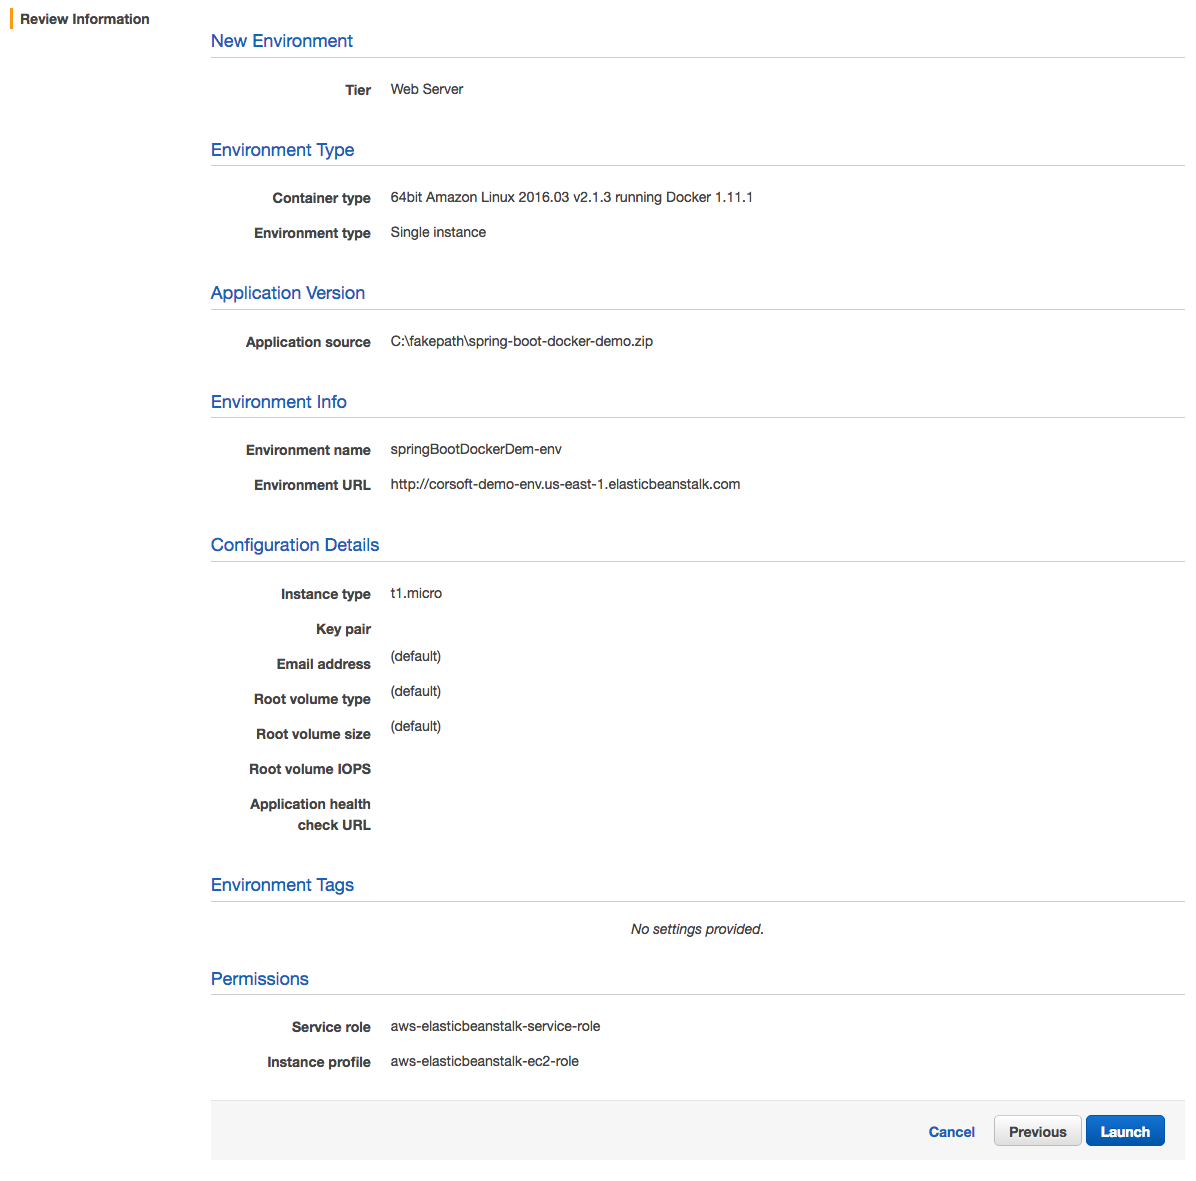
Accept Defaults
Just accept all the defaults on the next few screens. The final screen will display all the configuration you have specified and give you the option to ‘Launch’ the environment.
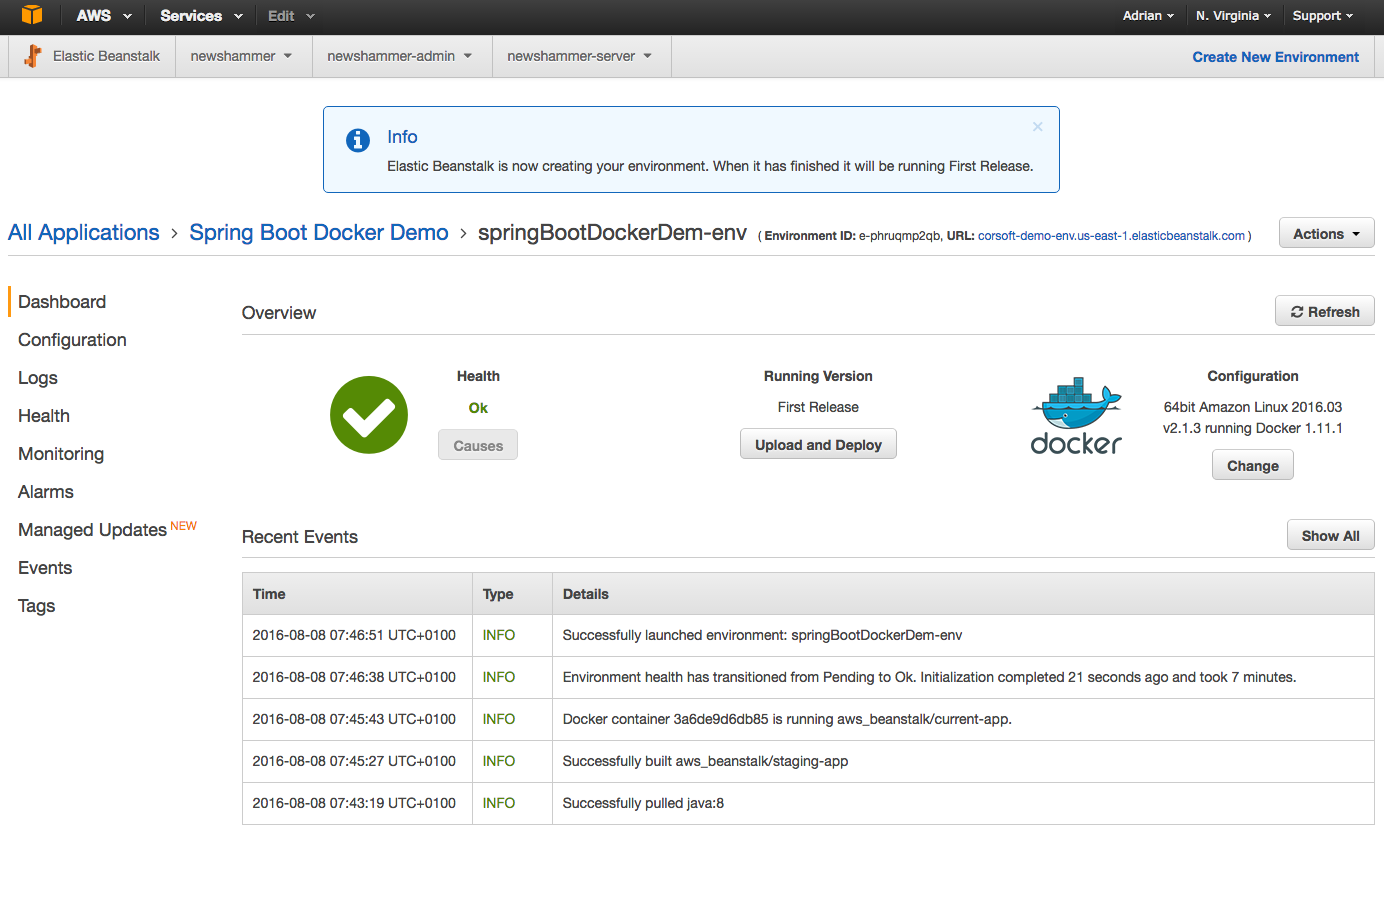
Launch complete
After clicking ‘Launch’ – it will take a little while, but eventually a green tick should appear indicating that everything is up and running
Open the site in a Browser
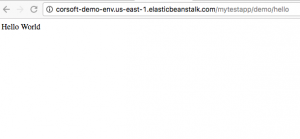
The root URL for your new Elastic Beanstalk environment is shown on your Dashboard – just copy and paste into your browser with your full path and you should see ‘Hello World’!
http://corsoft-demo-env.us-east-1.elasticbeanstalk.com/mytestapp/demo/hello
 Summary

This article runs though the basics of deploying a Spring Boot Docker image on Amazon Elastic Beanstalk. Full source code is available on Githib at https://github.com/corsoft/spring-boot-docker-jaxrs-demo.